
Final Product Development
Our journey to the final prototype
This section explores the journey we took from initial ideas to the final product, here you will find how we manufactured, how we designed and how we explored different techniques.
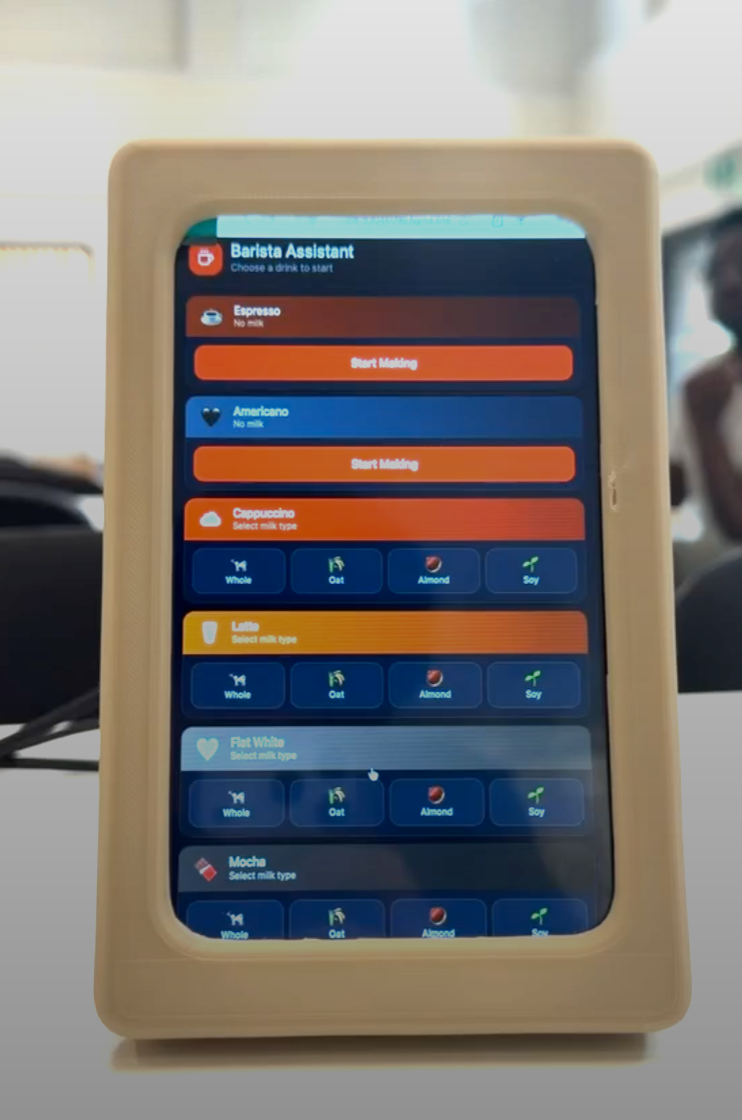
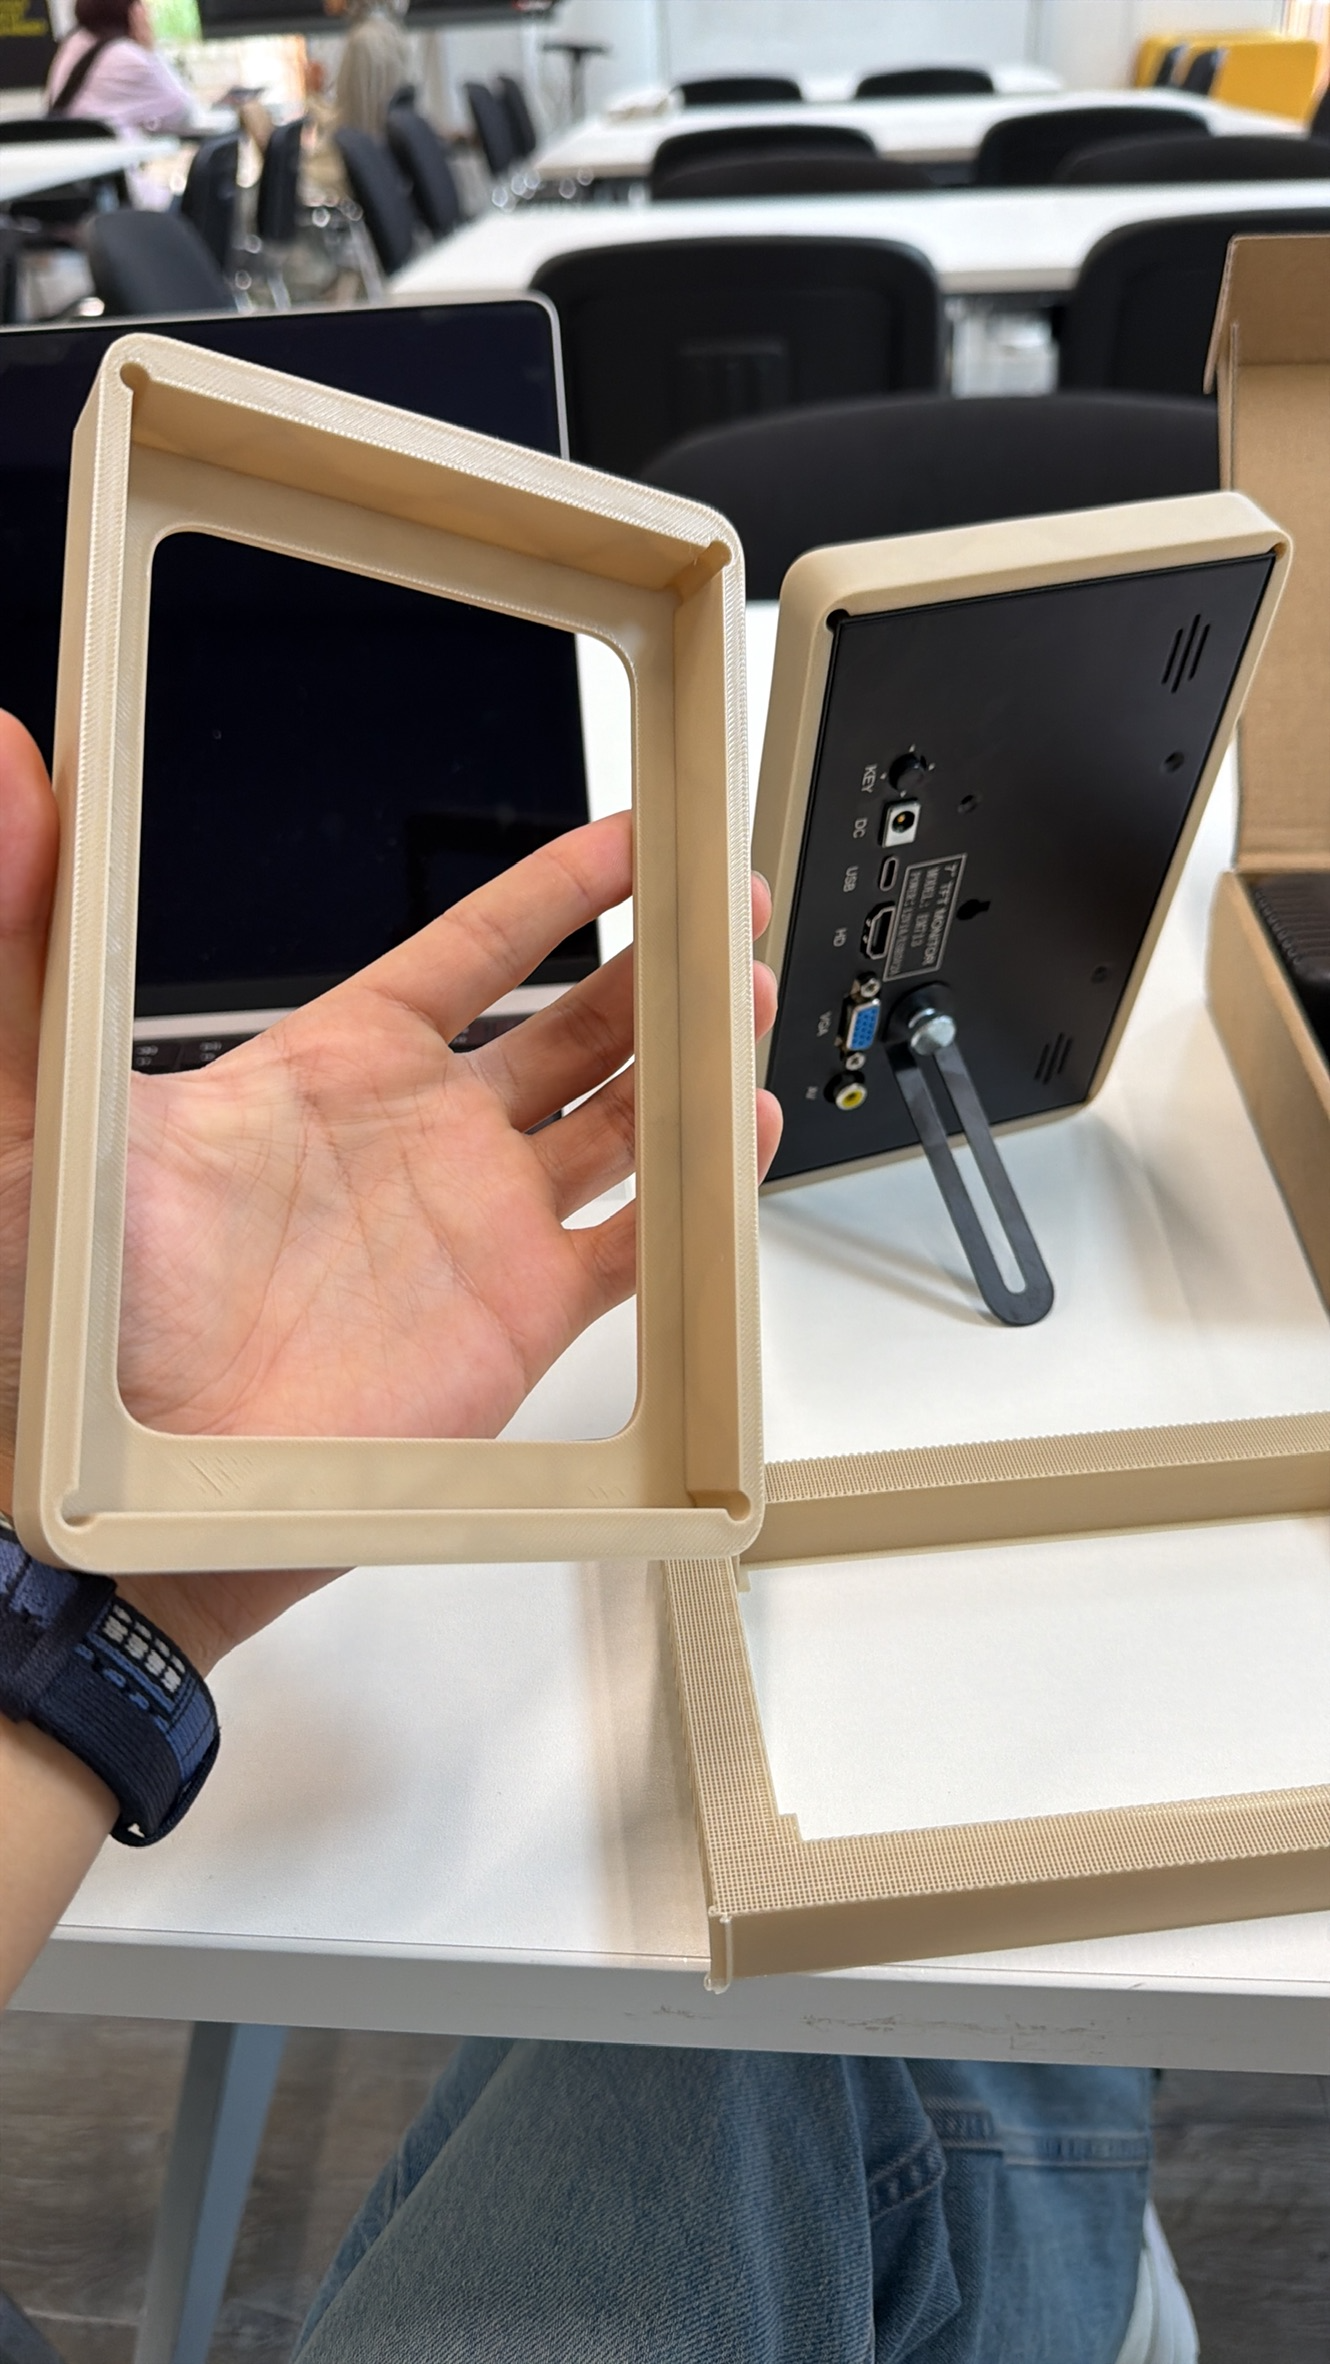
Screen cover
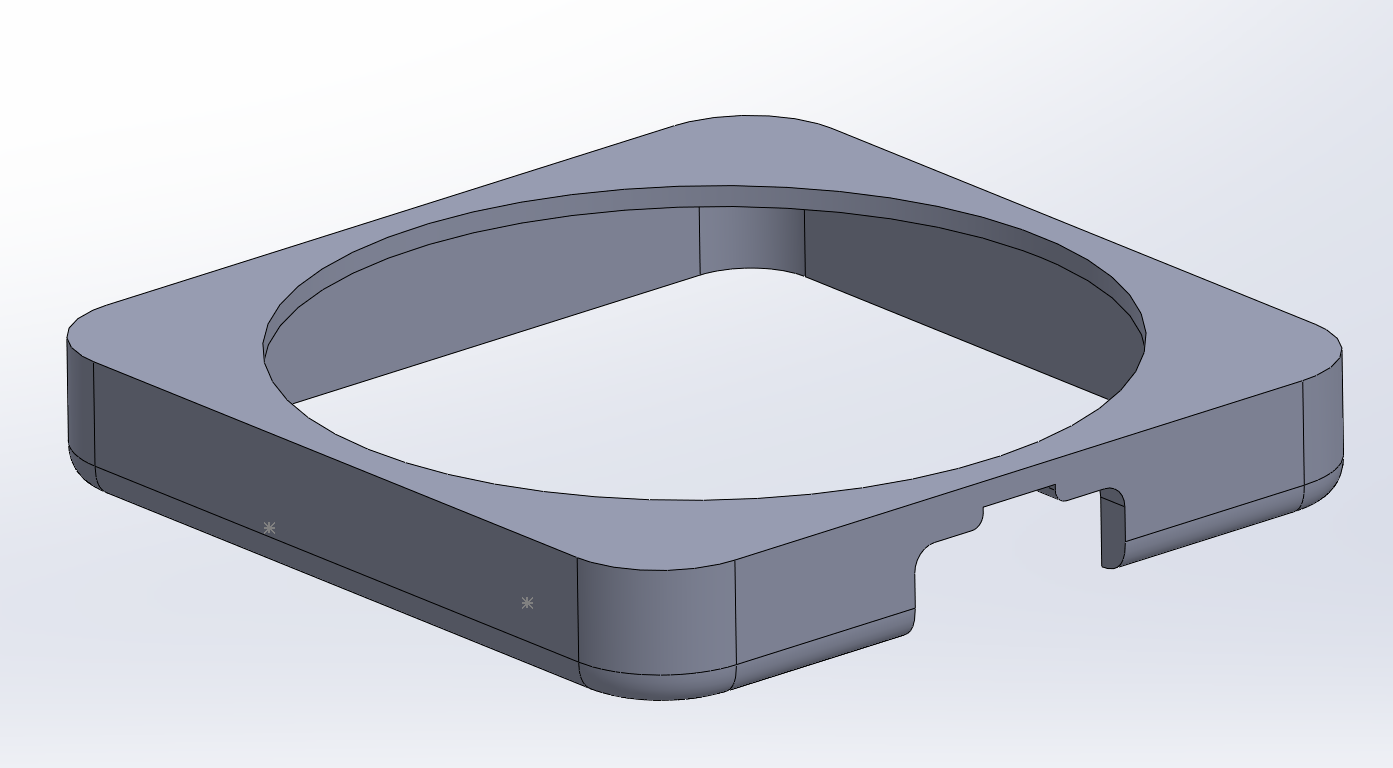
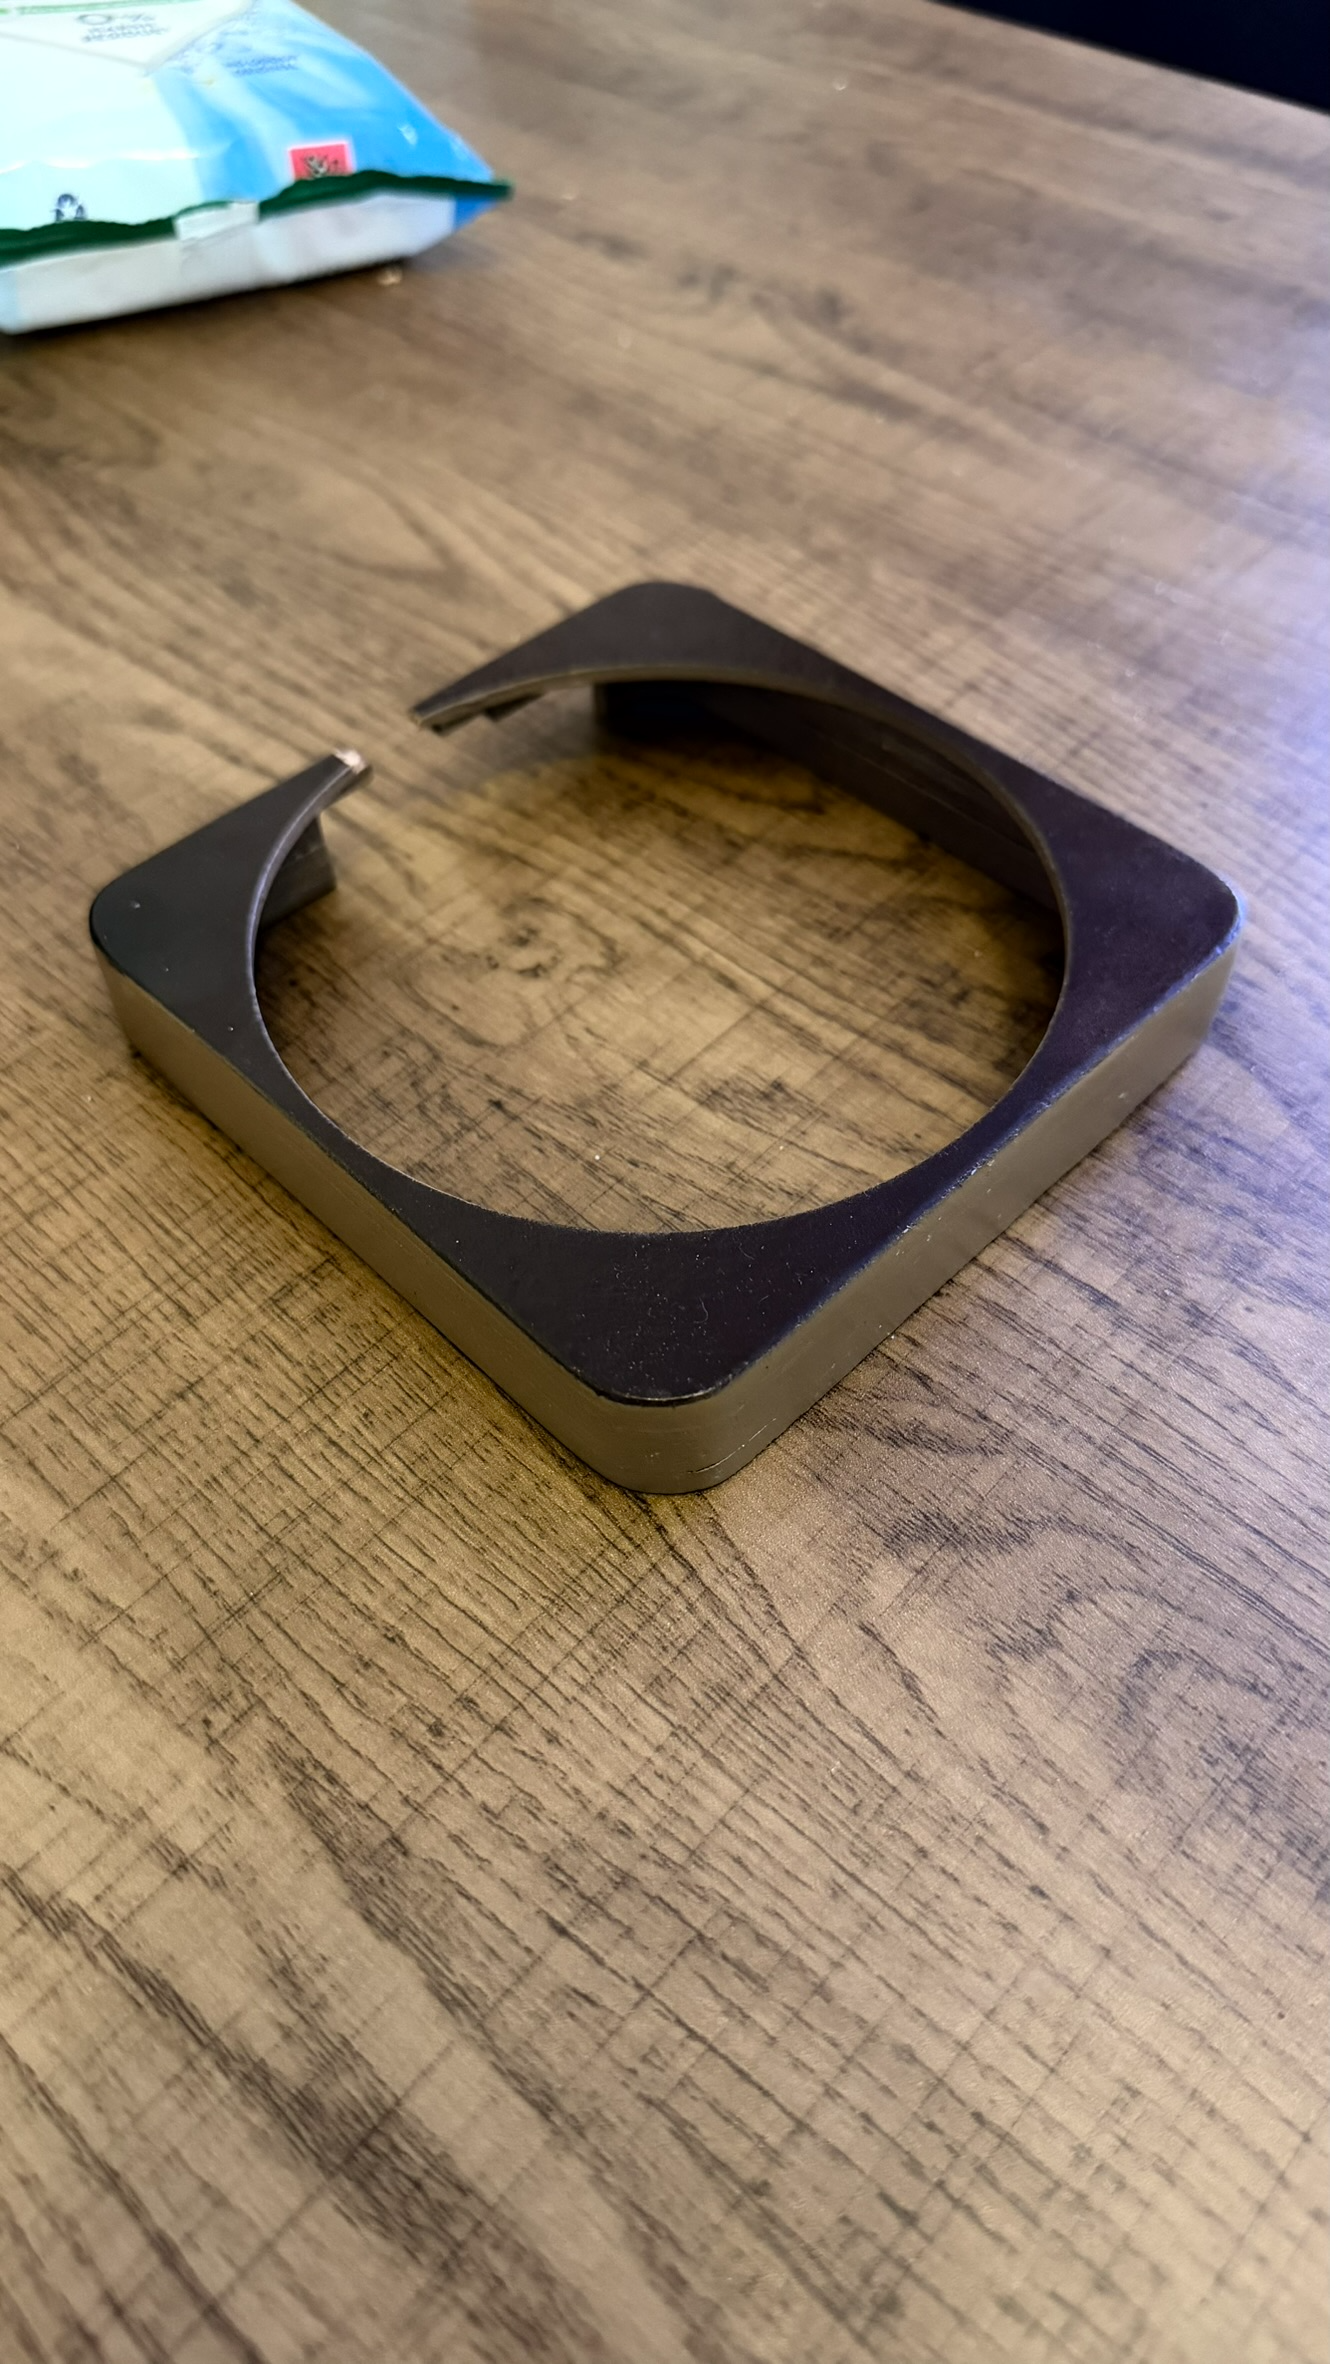
Taking measurements from the product listing and using digital vernier calliper to verify we designed an interference fit screen cover/guard to cover the bare black powder coated frame with sharp corners. This was FDM printed with PLA material but has the potential for injection moulding or CNC routing. This simple frame leaves the back of the screen exposed for the connections.
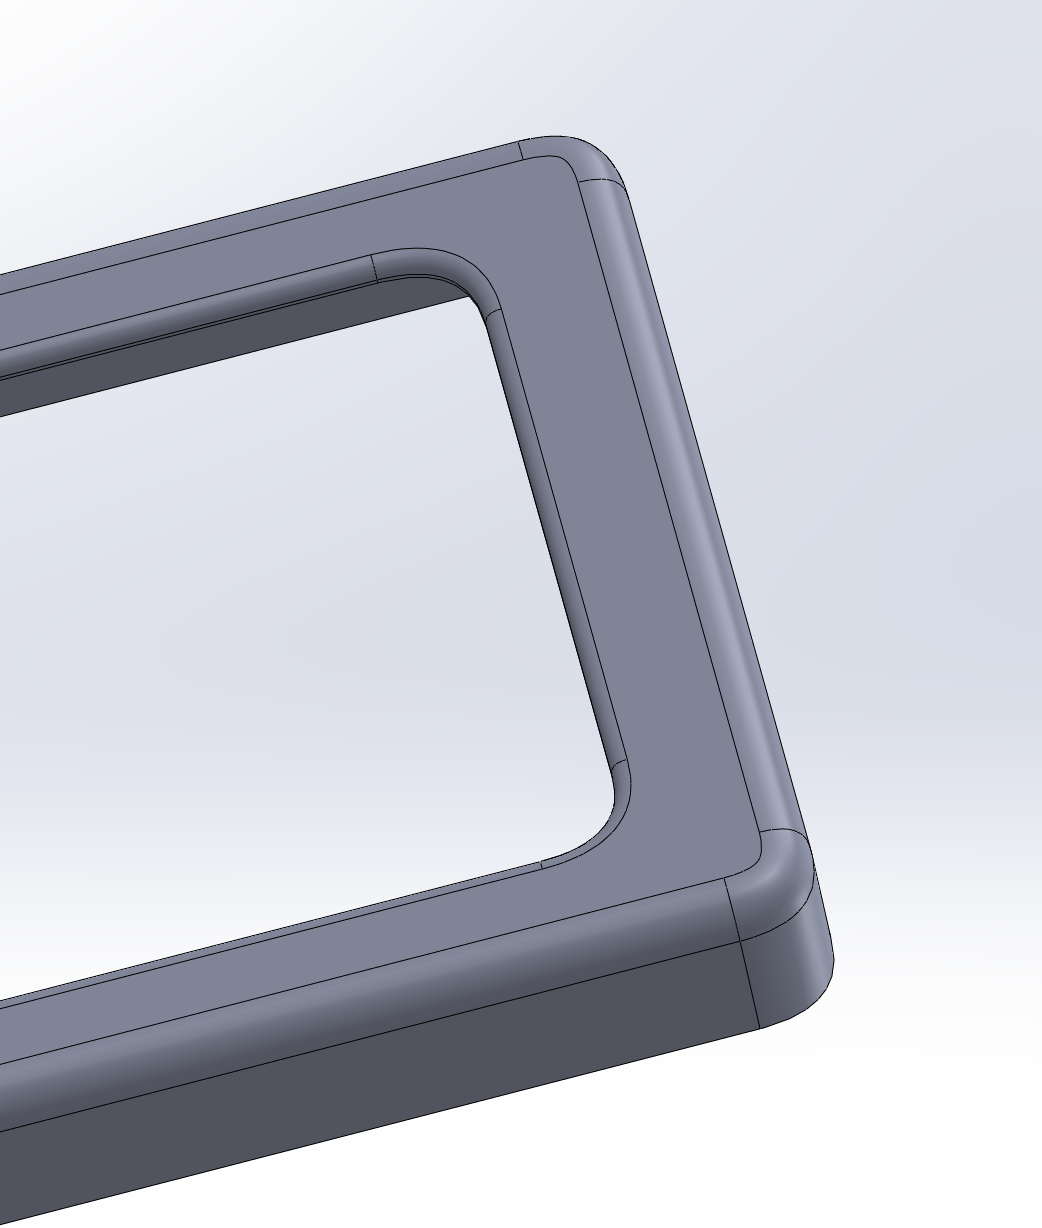
Conic Rho Radius
Every corner and fillet was designed with a 0.5 conic Rho radius so there are no sharp edges.
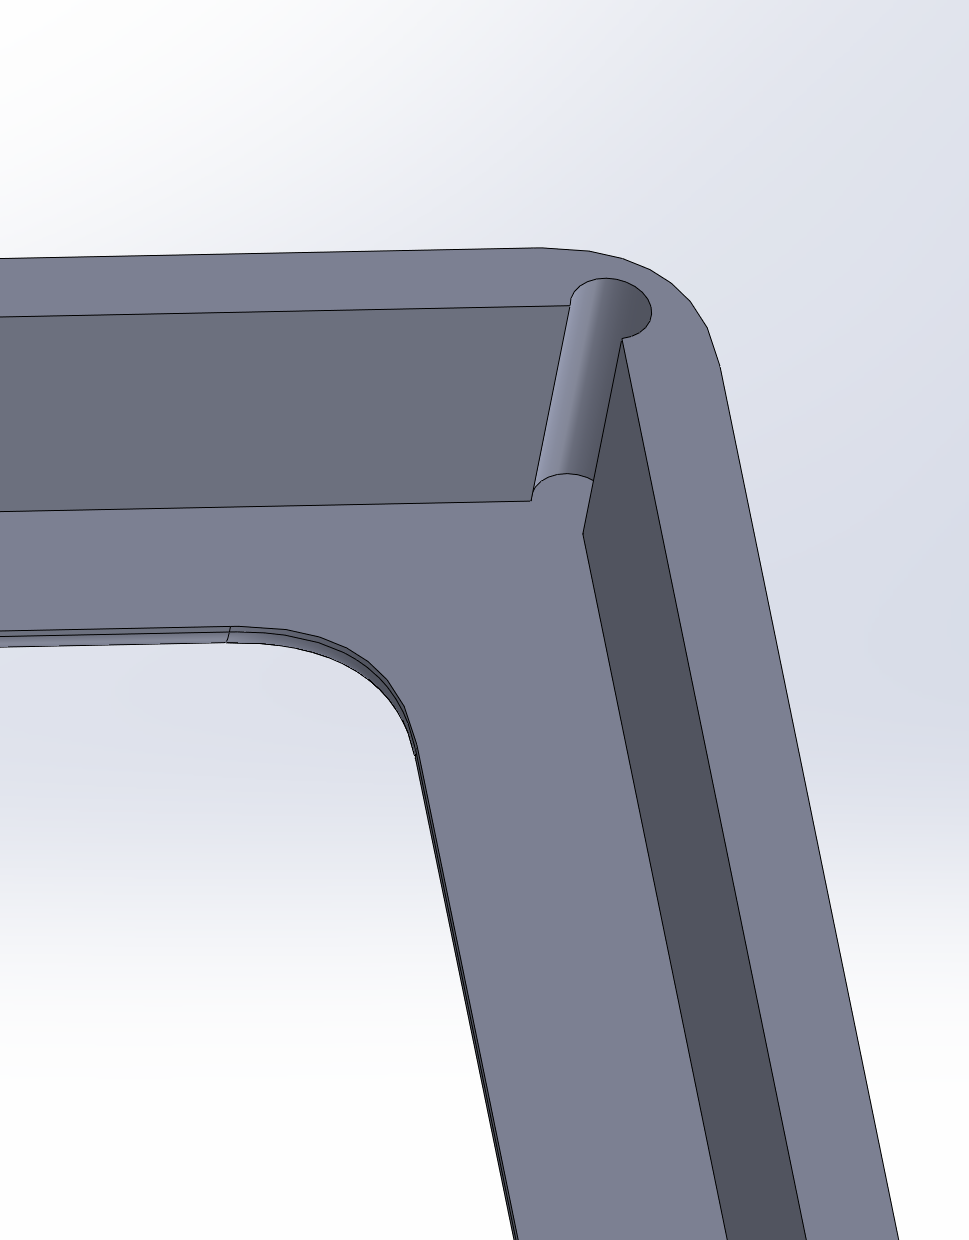
Holes remove tolerance
The interference is tight and it would be very difficult to get a correct fit on FDM manufacturing this component. Adding small holes to the corners removes the tolerance that would of needed to be accounted for.
Screen Stand
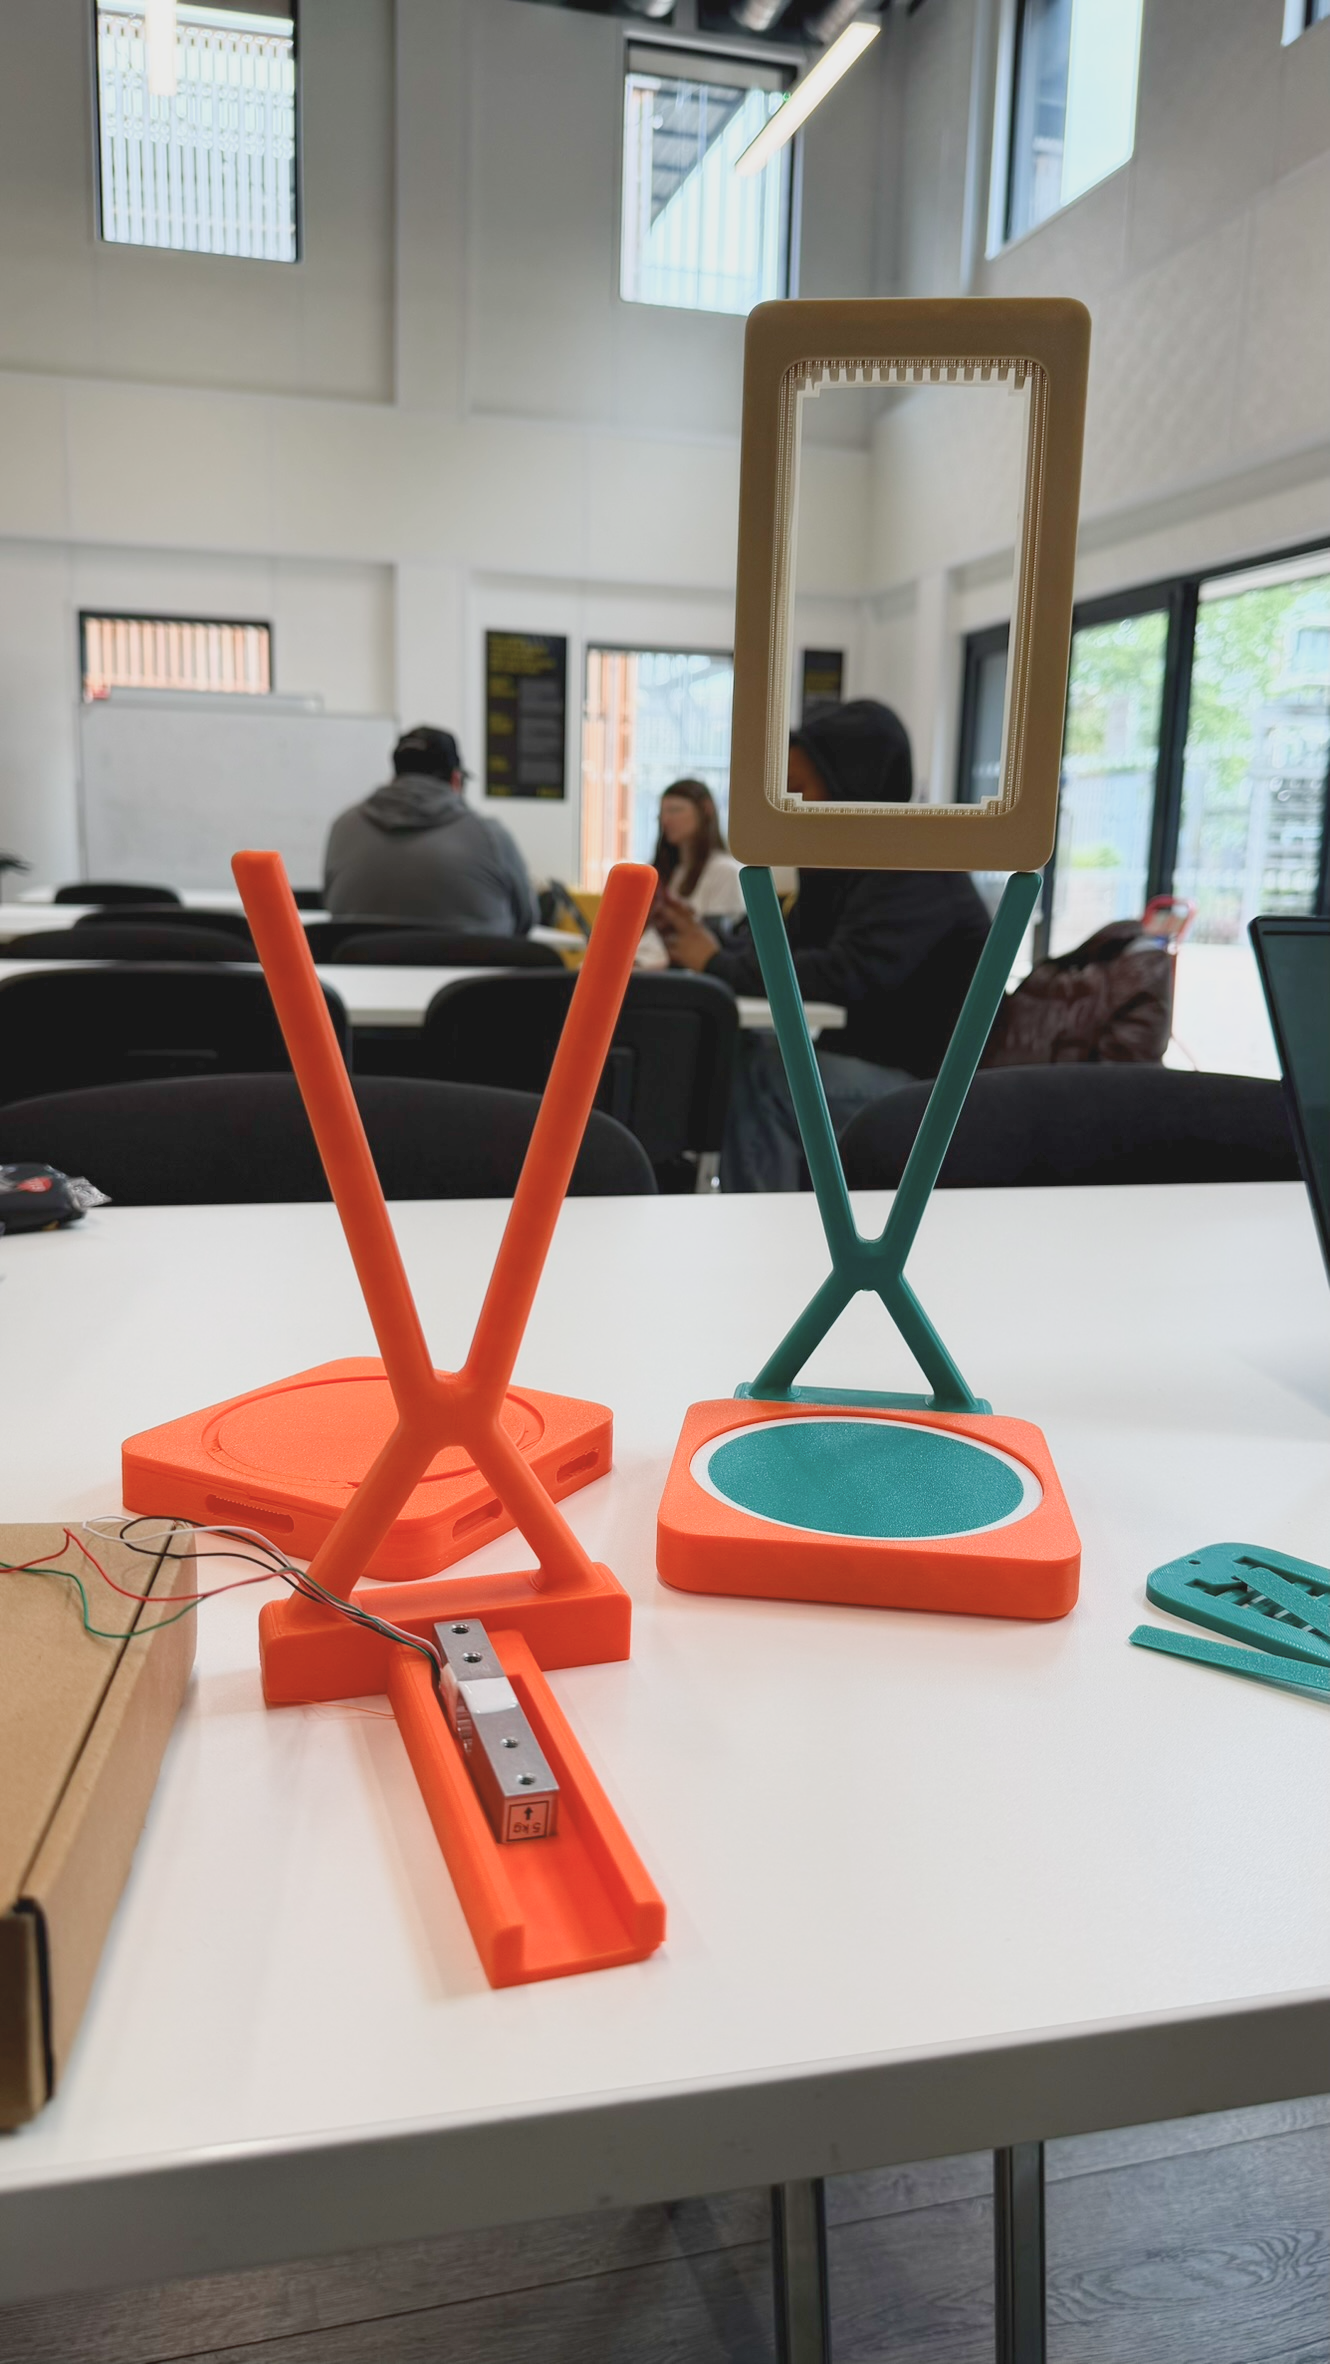
Following on from the ideation, created in Solidworks with the same conic Rho radius as the screen cover. which also houses the load cell. FDM printed with PLA as the manufacturing capabilities we had were limited.
The stand
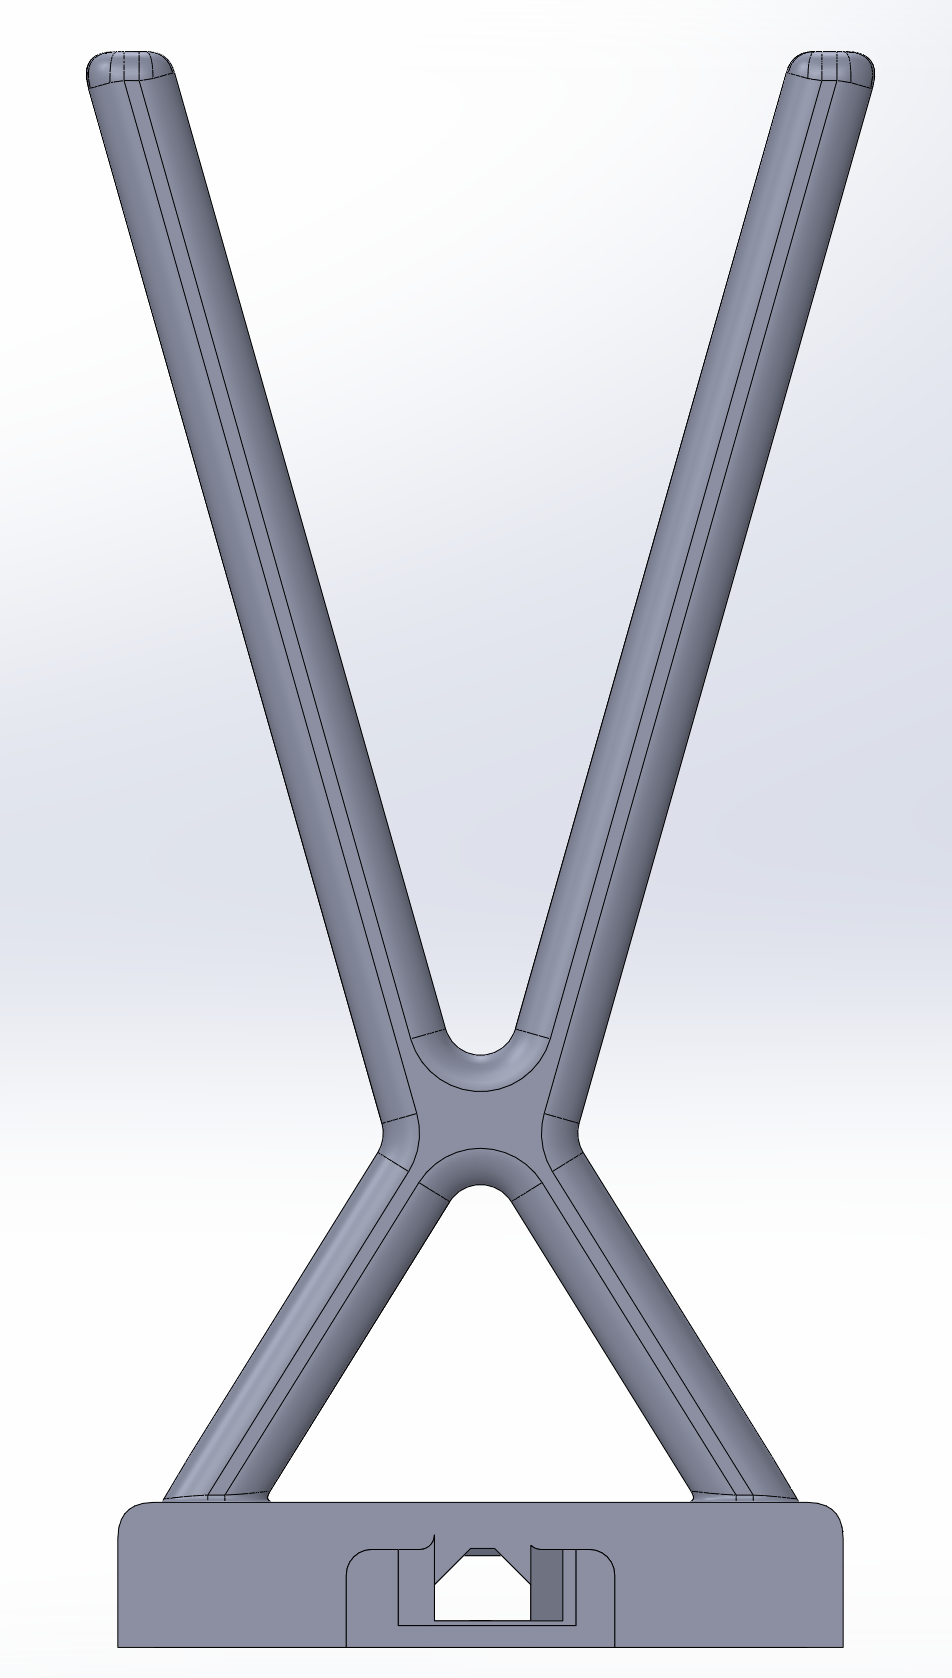
We experimented with cardboard and settled on this “X” design which references a sand timer relaying the idea of the potential of a quick timely nature of coffee making. It’s also sturdier than a simple pole but delivers more character.
Load cell placement
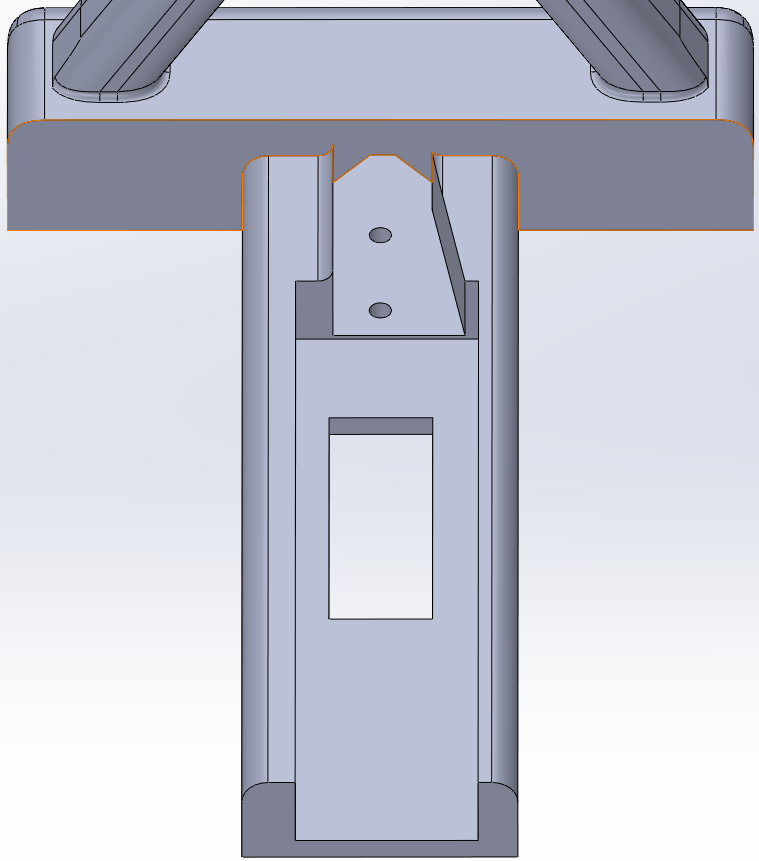
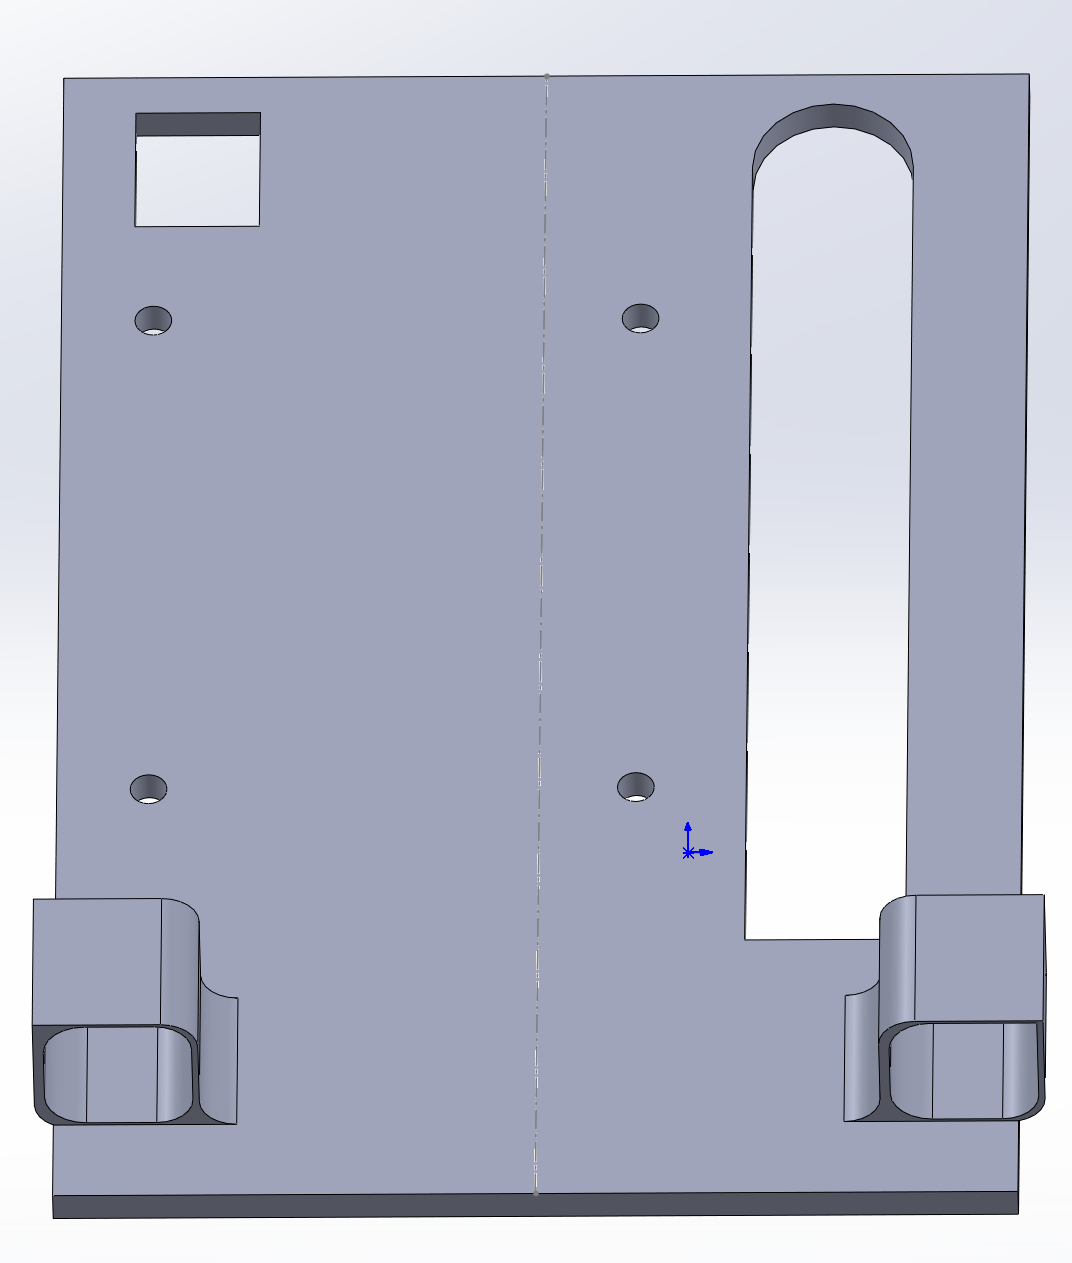
The stand connects directly under the base where a load cell can be attached. This has a cut out for the load cell to travel up and down and also a channel for the wiring to pass through.
Screen Mount
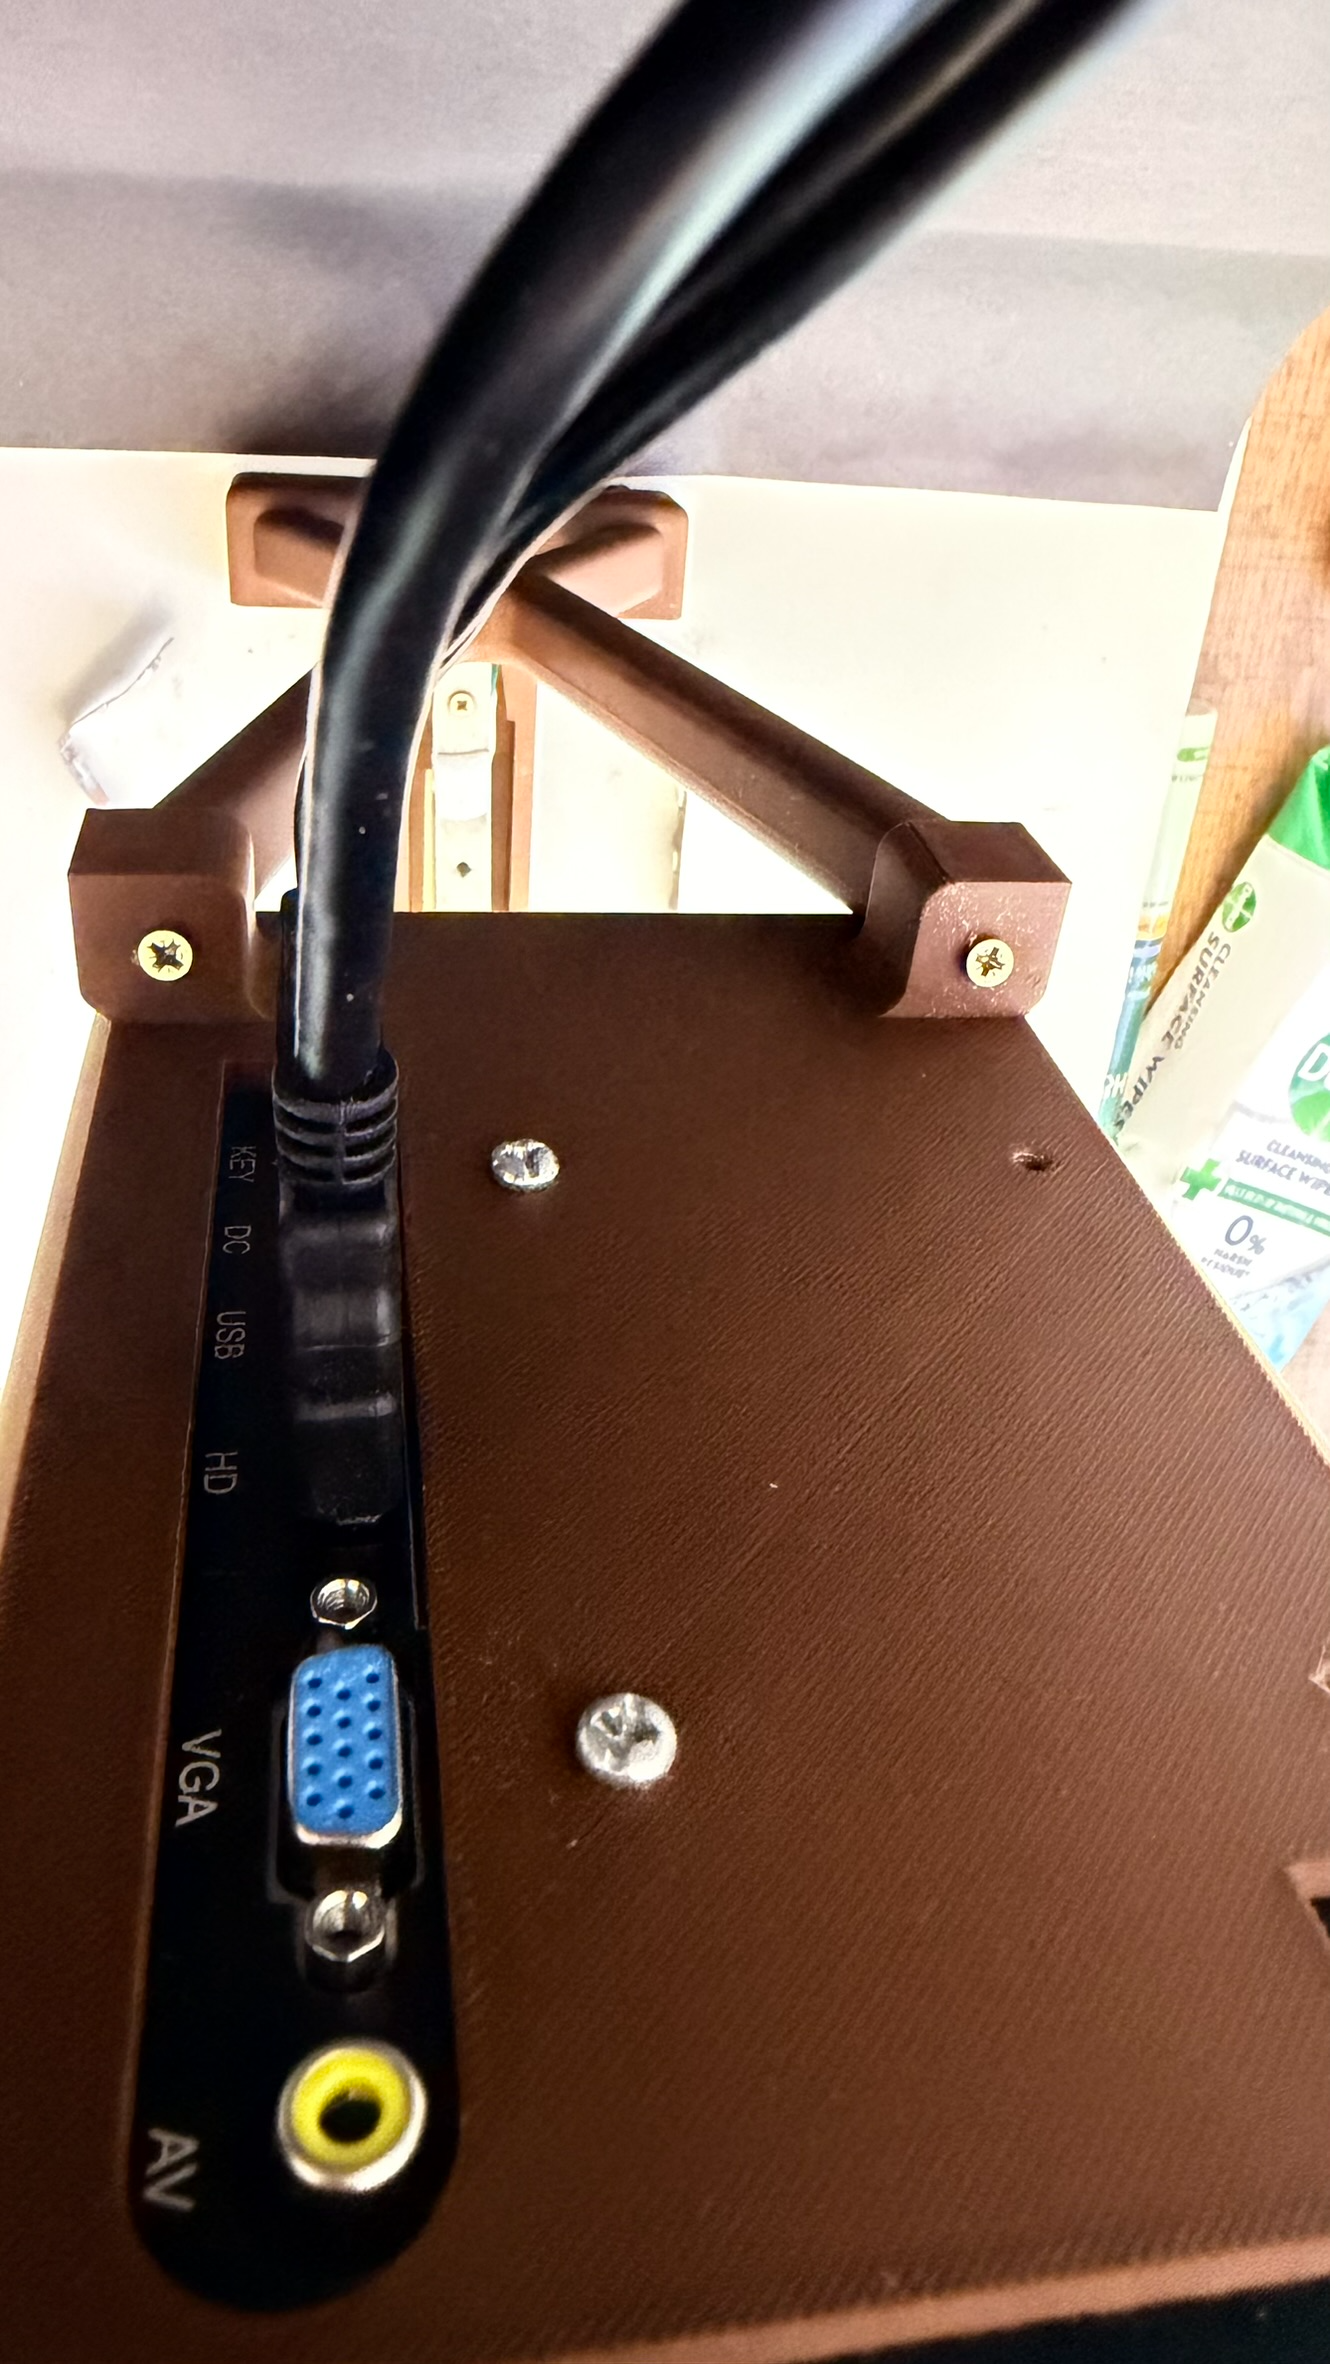
A screen mount was created as the screen doesn't use a standard VESA mount, this allowed it to float just Infront of the screen stand without affecting the envelope that the coffee cup would take.
Before we go any further lets dive into the screen system!
Screen system
Take me there!
Base
A simple base with the same corner and fillet radius as the rest of the product for consistency with a cut out on the back which allows the screen stand to slide into. The top is flat so drinks can’t slide off but the bottom is curving in so it separates itself from the table.
Plywood stacked base
Stacked plywood and finish didn’t make it to the final product as the quality wasn’t what we wanted. This was an alternative to CNC.
Multi Material FDM Base
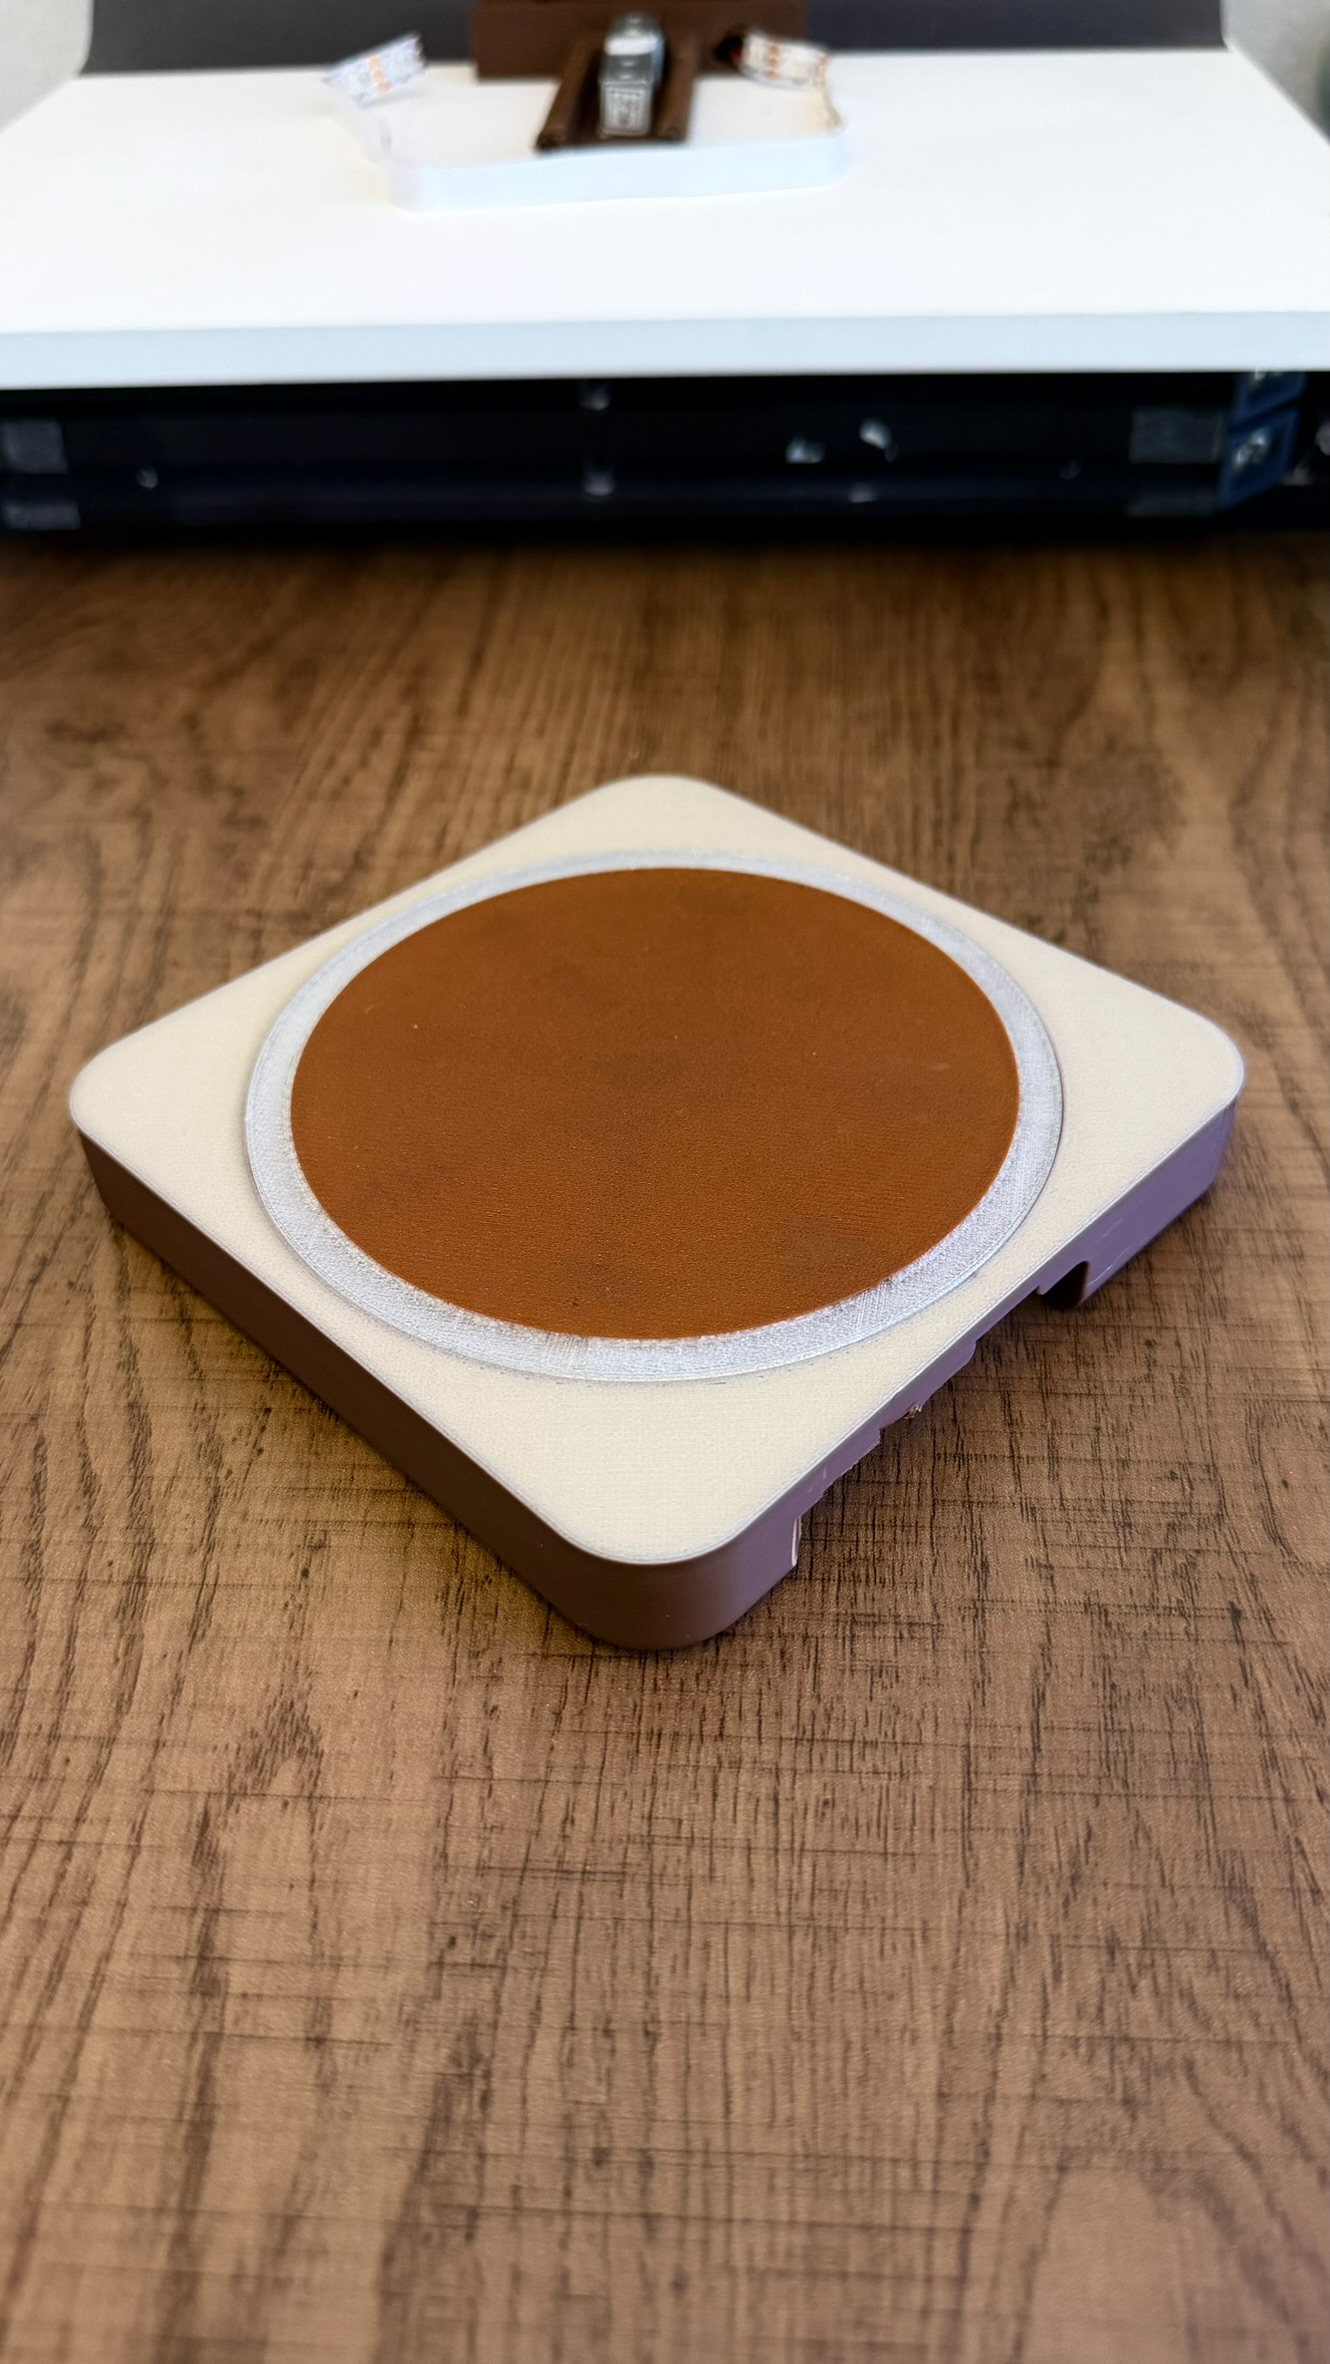
Multi material combining 2 different colours of PLA and translucent PETG to allow for the LED to shine through.
Future CNC pathway
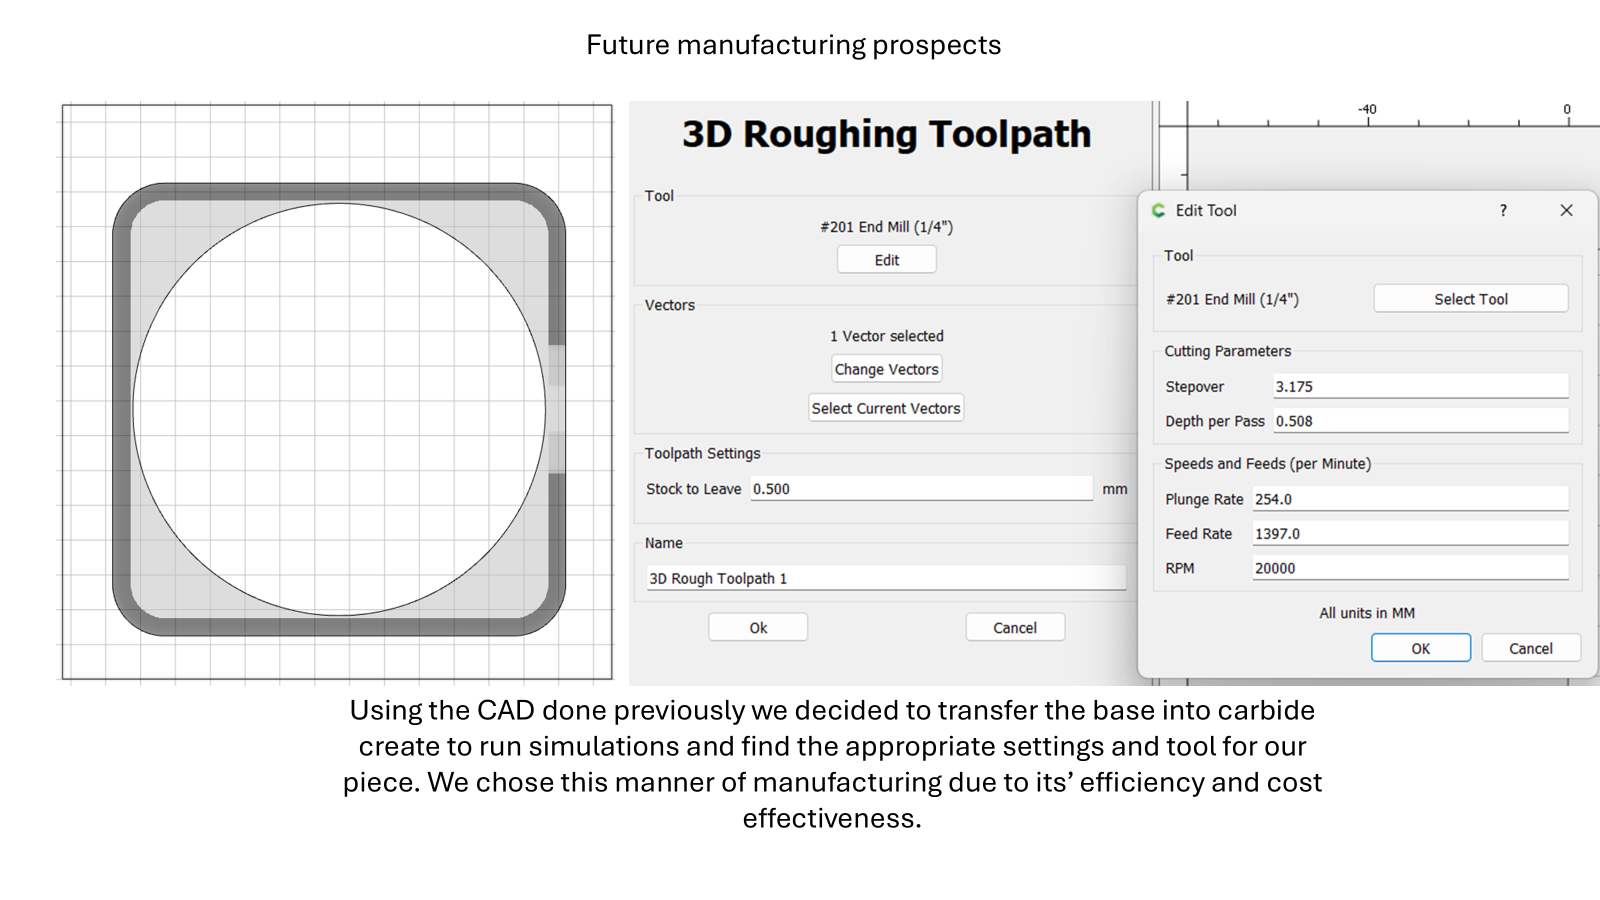
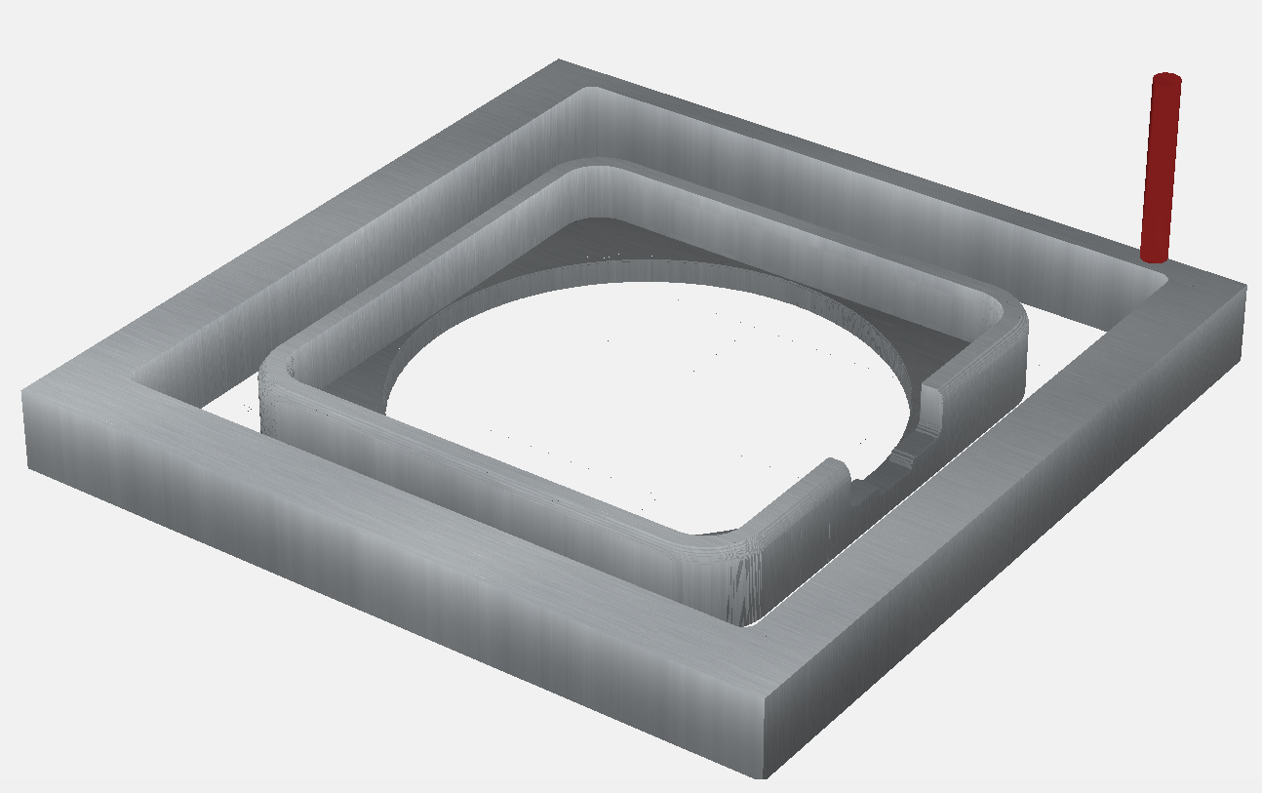
In summary we decided we would create a rough cut of the piece and sand to into shape due to the bits available not being able to recreate the hard corners on the design as seen in the photo provided. In the future our goal would be automating the finishing process as well to increase rate of production and reduce production costs. Ultimately this did not materialise due to complications with the university.
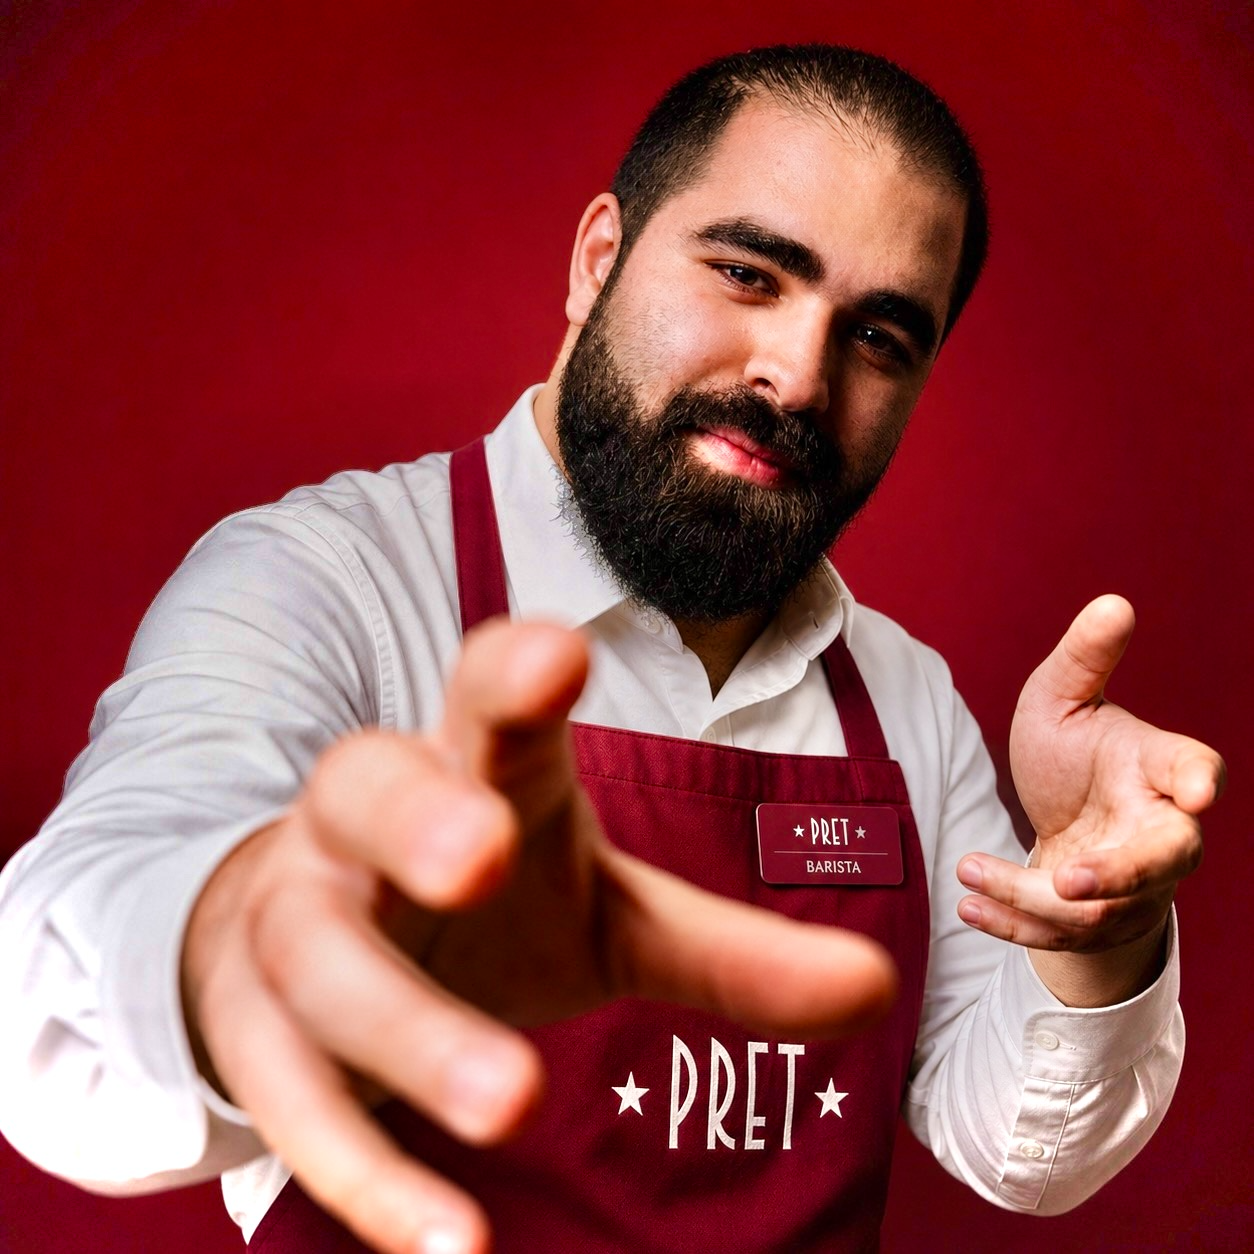
“Stainless steel is what is used on the bar, you wouldn’t find any wood as it is hard to clean, stains and expands in the humid environment when there is hot drinks, spills and steamers.”
Jose Luis - Head Barista, PRET a Manger
This was a valuable insight from our connection at PRET, whilst our thought of wood would aesthetically look nice and feel good as the base, functionally outside of the use of the product and outside our system boundary, cleaning and health and safety wise wood isn’t the best material for this. Shifting our focus now back to a plastic.
Referencing this website we used the maximum size of a takeout coffee cup to base the design proportions off of. Following on from the conversation with the PRET barista, every chain uses their own sizes with minute differences, but said that the guidelines on this manufacture’s website would cover every chain’s sizes.
There are many cup sizes!
The final product
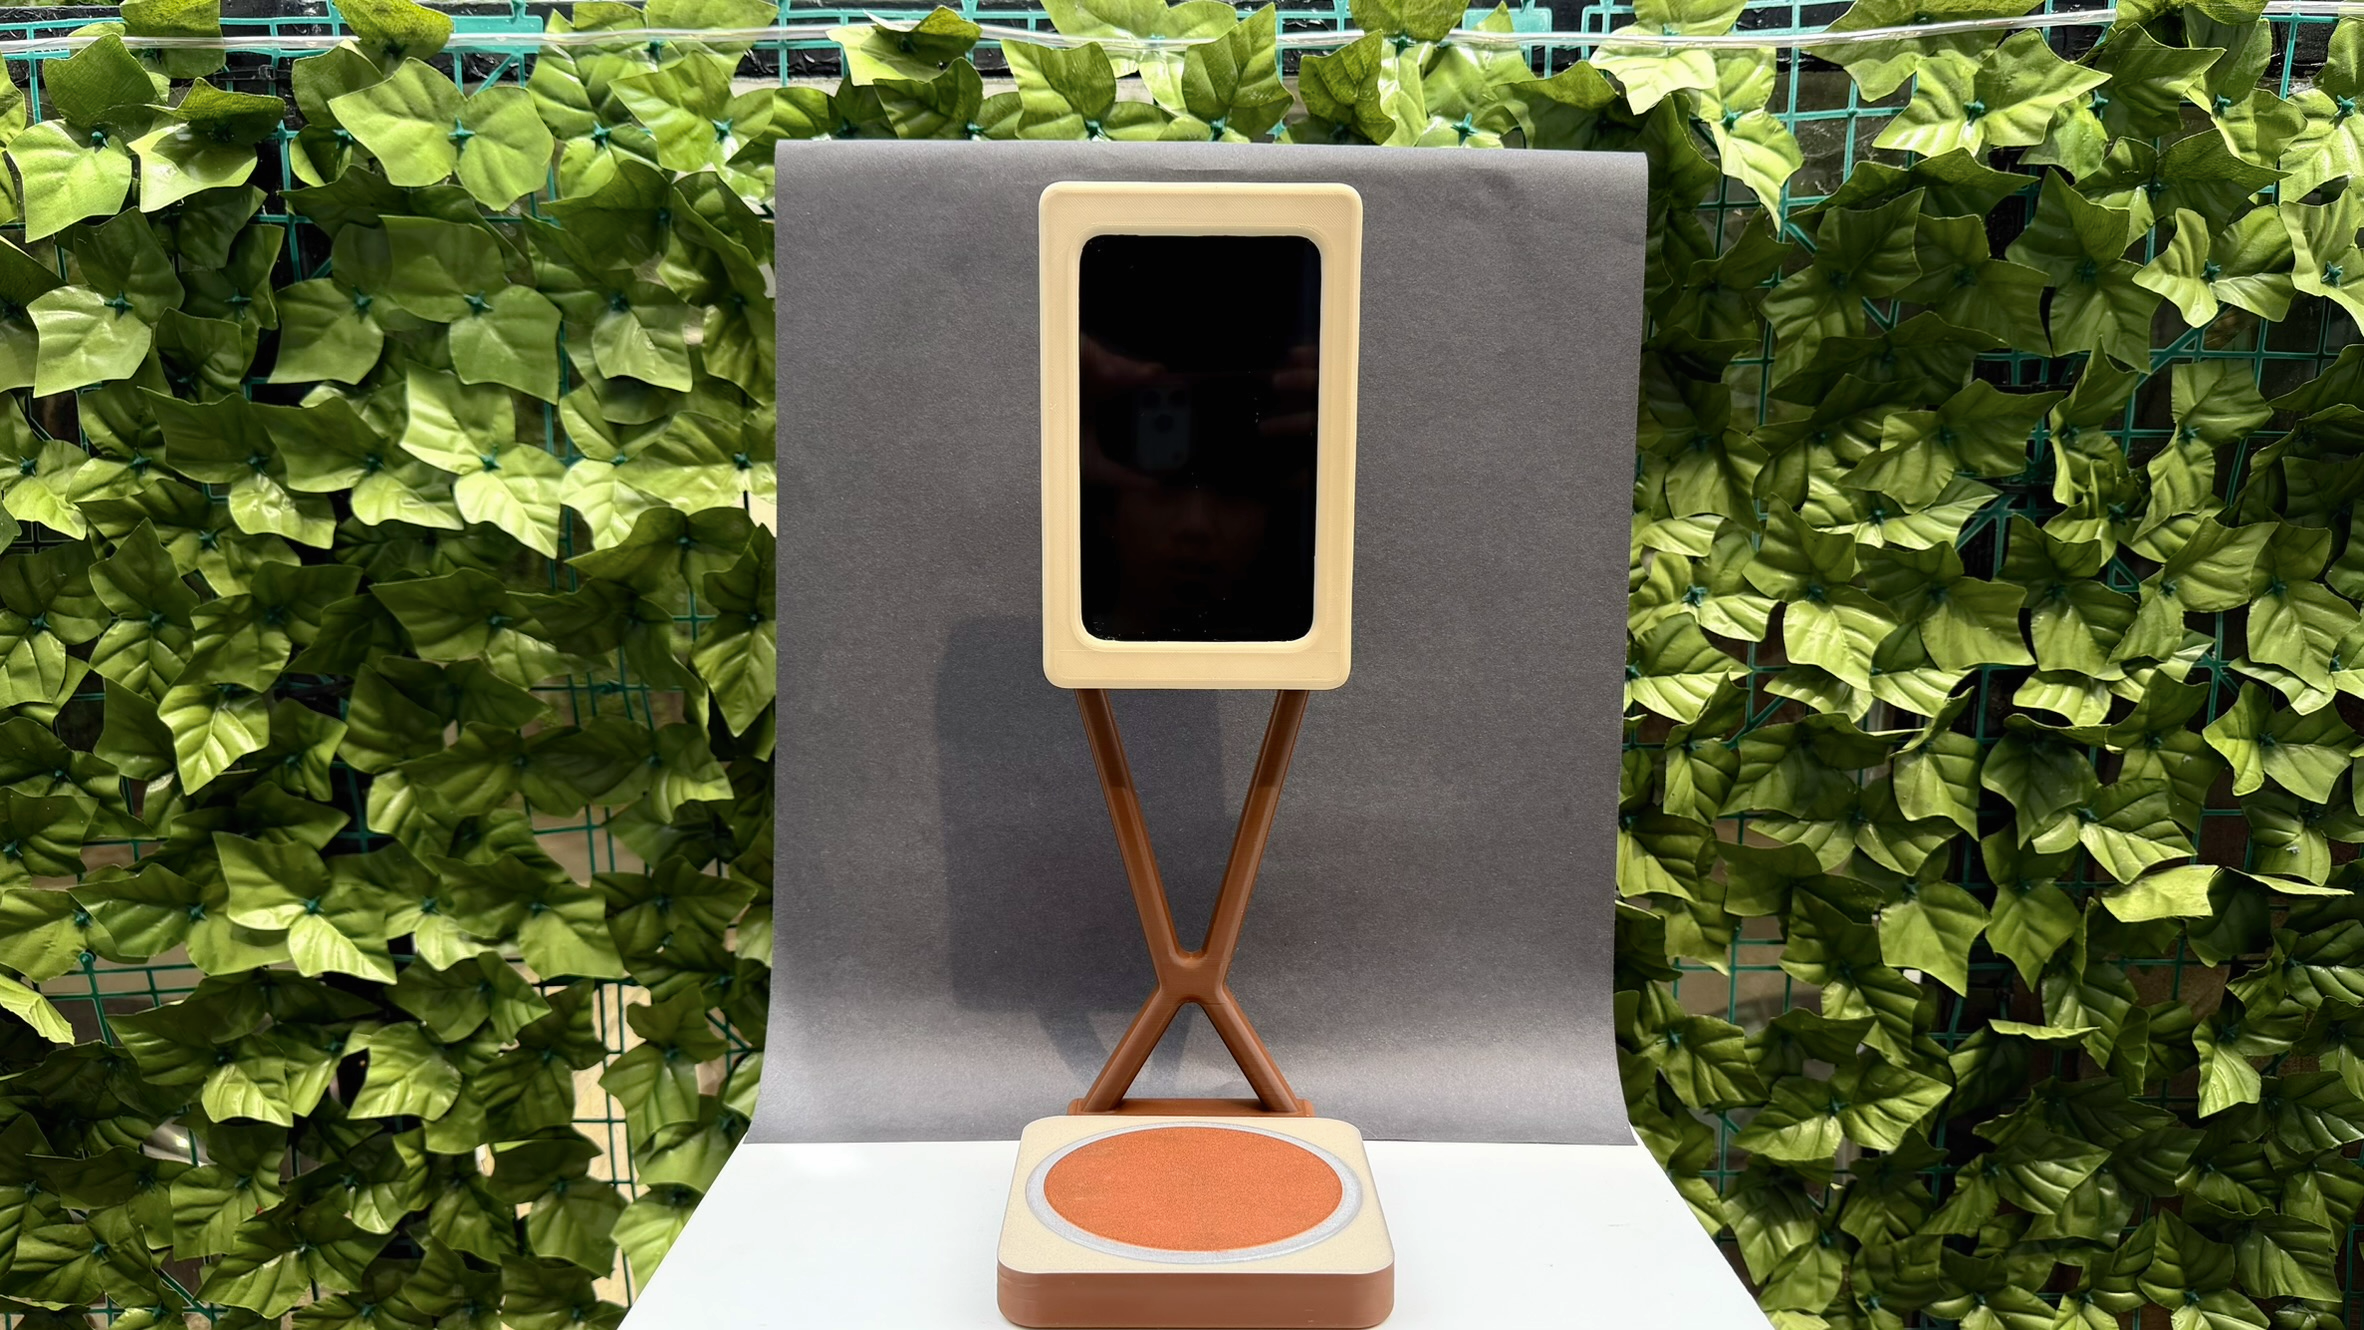
Combining everything above this is what materialised into our final prototype product.
Gallery
See it in action!
Explore the Screen System or look at our collaboration!
Screen System
Take me there!
Collaboration
Take me there!